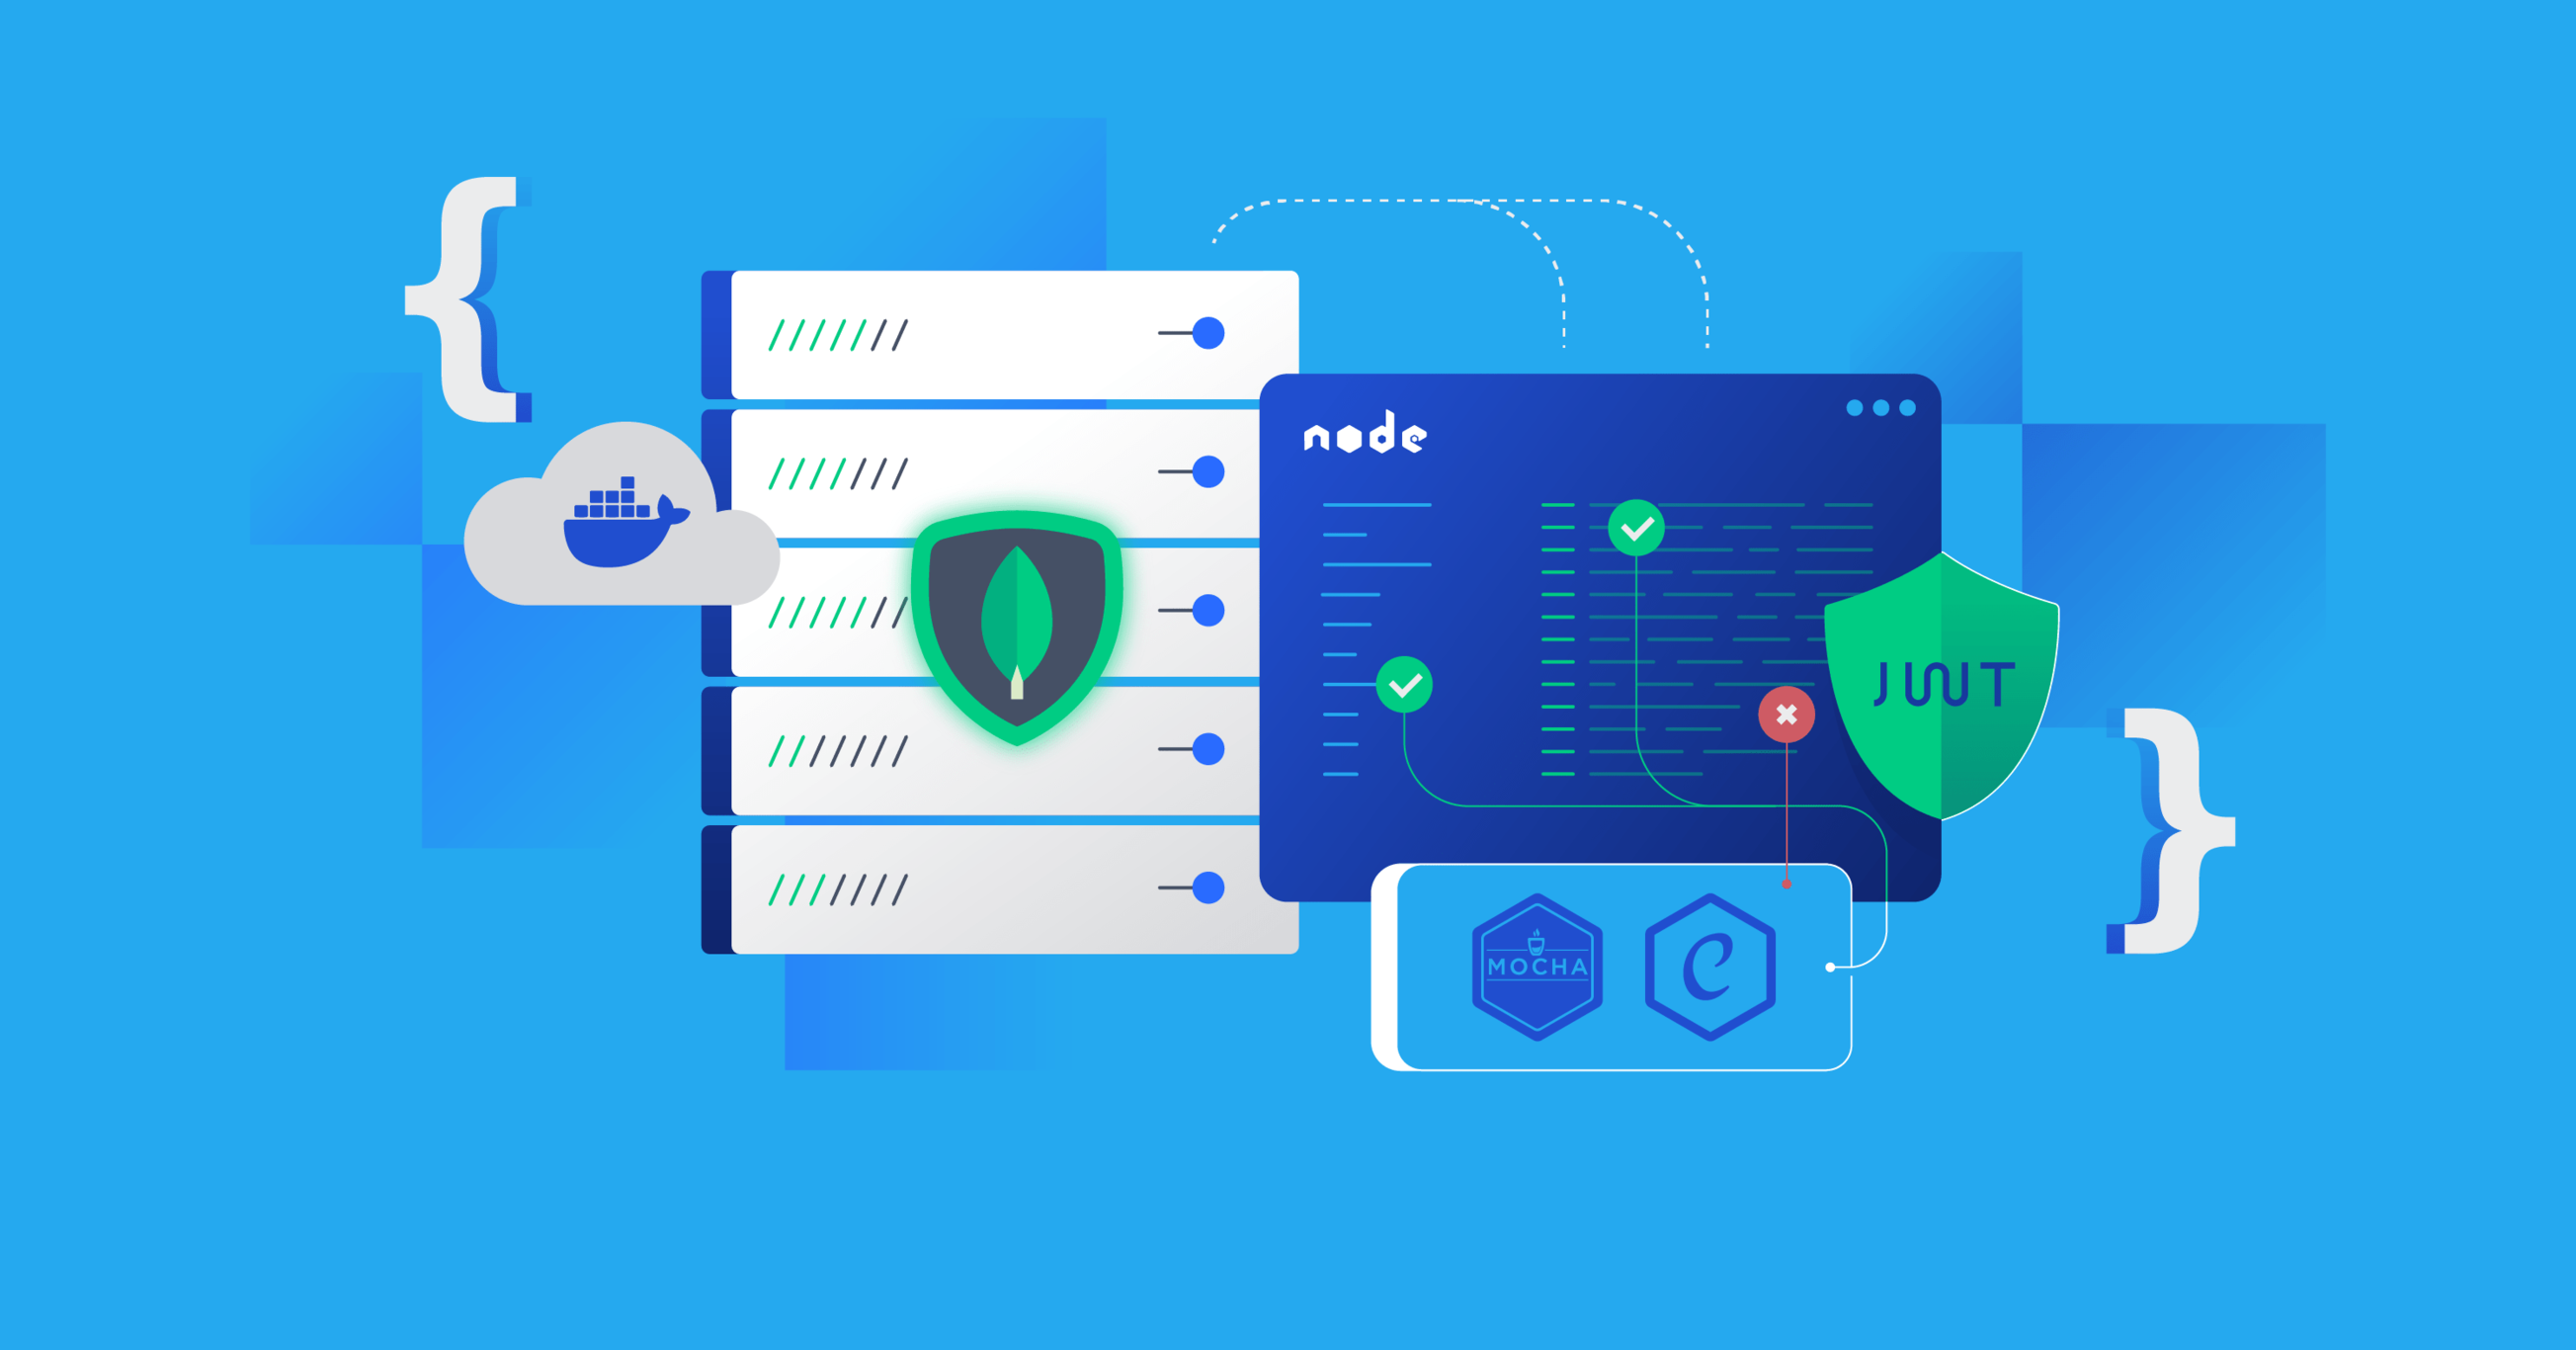
If you’re building a web application using React, chances are you’ll need a backend to manage data. A great combination for this is using MongoDB as the database and creating a REST API using Node.js and Express. This setup is widely used because it’s simple, flexible, and powerful.
In this article, we’ll break down how to create a REST API that works with React and MongoDB, in a step-by-step way that’s easy to understand.
What Is a REST API?
A REST API (short for Representational State Transfer) is a way for the front end of your application (like React) to communicate with the back end (like a server connected to a database). It works through standard web methods such as:
- GET – to retrieve data
- POST – to send new data
- PUT – to update existing data
- DELETE – to remove data
This structure is very common in modern web development and helps different parts of your app stay organized and scalable.
What Tools Do You Need?
To build a REST API with MongoDB for a React app, here are the tools you’ll typically use:
- Node.js – A JavaScript runtime for building the backend
- Express – A simple framework that makes building APIs in Node easier
- MongoDB – A database where your app data will be stored
- Mongoose – A helper library that makes it easier to work with MongoDB
- Postman (optional) – A tool to test your API during development
Before starting, make sure these are installed on your computer. If not, you can easily download them online.
Step-by-Step: How the REST API Comes Together
Here’s a simple explanation of what goes into building this setup.
1. Project Setup
You begin by creating a new project folder and setting up Node.js. This will act as your server. Inside this project, you install the tools mentioned above, which will allow your app to connect with the database and send/receive data.
2. Starting the Server
Next, you set up your server using Express. This server will listen for incoming requests. Think of it like a receptionist that answers the door and takes requests from your React frontend.
3. Connecting to MongoDB
After the server is ready, you connect it to MongoDB. MongoDB is a NoSQL database, which means it stores data in a flexible, JSON-like format. It’s perfect for dynamic applications.
The connection ensures that your backend can store, retrieve, and update information in the database when the React app asks for it.
4. Creating a Data Model
You then define what kind of data your app will store. For example, if you’re building a shopping list app, each item might include a name and quantity. This structure is called a model or schema, and it helps keep your data organized.
5. Making Routes (API Endpoints)
Now you create specific routes for different actions your app needs to do. Each route is like a specific URL that handles a certain type of request:
- A GET request to fetch a list of items
- A POST request to add a new item
- A PUT request to update an existing item
- A DELETE request to remove an item
Each of these routes talks to MongoDB to either save or retrieve the correct data.
6. Testing the API
Before connecting your React app, it’s a good idea to test your API. You can use tools like Postman to send fake requests and check if your backend is responding correctly.
This step helps catch problems early and makes sure everything works before adding the frontend.
How React Uses the API
Once your REST API is working, your React app can send requests to it. This usually happens when a user clicks a button, submits a form, or loads a page.
For example, if your app needs to show a list of products, React can send a GET request to the backend, which fetches the data from MongoDB and sends it back to React. Then, React displays that data on the screen.
In the same way, if a user wants to add something, React sends a POST request with the new data, and the backend stores it in MongoDB.
Why Use MongoDB?
MongoDB is a great fit for apps that need to handle flexible or growing data. Unlike traditional databases, you don’t need to define the structure of your data in advance. This means it’s easier to build and update your app over time.
It’s also fast and works well with JavaScript, since it uses a format similar to JSON (called BSON).
Advantages of This Setup
Here are some reasons why many developers choose this setup:
- Full JavaScript Stack – You write both backend and frontend using JavaScript.
- Fast Development – Tools like Express and Mongoose make it quick to build.
- Flexible Data Handling – MongoDB lets you store any kind of data structure.
- Easy Integration – React apps can easily communicate with this kind of backend.
What You Can Build
With a REST API and MongoDB, your React app can handle many types of data-driven tasks. For example:
- User registration and login
- Shopping carts and product lists
- Contact forms and saved messages
- Notes, tasks, and reminders
- Blog posts and comments
The possibilities are endless once your backend is set up and talking to the database.
Next Steps
After you create your API, here are some things you can do to improve it:
- Add user authentication (login and logout features)
- Use MongoDB Atlas to host your database in the cloud
- Deploy your backend to platforms like Render, Railway, or Heroku
- Add error handling and data validation for better user experience
- Make your API secure with proper access control
Conclusion
Creating a REST API with MongoDB for your React app is one of the best ways to build full-stack applications. It’s simple enough for beginners to learn and powerful enough for big projects.
By connecting your React frontend to a Node.js backend with MongoDB, you get full control over how data flows in your app. And once you master this stack, you can build just about anything on the web.
Want your brand featured in front of decision-makers? Publish a guest post or get a link insertion in our guides through AAMAX's guest post and link insertion service.
Helpful Links
- Steel Pods: A Modern Solution for Efficient and Durable Modular Bathrooms | Best Agencies
- 5 Best Pakistani Girls Suit Colors You Must Have
- Brit Therm: Trusted Experts in Circulation Pumps for Domestic and Industrial Applications
- How Technology is Shaping Modern Recruitment: Essential Tools for Success
- Boys' Shorts Collection: Stylish Shorts for Your Little Man
Write for Us
Share your expertise with our readers. We welcome guest contributions from industry specialists.
Pitch your idea